| This is documentation for Semarchy xDI 2024.2, which is no longer supported. For more information, see our Global Support and Maintenance Policy. |
Work with projects
Semarchy xDI organizes resources into projects and folders.
Project organization
You can organize your project folders as you want. A typical organization is as follows:
-
A top-level project folder.
-
A folder that holds metadata resources.
-
A folder that holds development resources.
-
A subfolder that holds processes.
-
A subfolder that holds mappings.
-
-
Create projects
To create a project:
-
Right-click in a blank area of the Project Explorer to open a context menu, or open the File menu to select . The New Project wizard opens.
-
In the Wizards filter, enter Project, and then select the item in the tree view.
-
Click Next.
-
Enter a Project Name, and click Finish.
Create folders
To create a project folder:
-
In the Project Explorer, open the context menu for a project or an existing folder.
-
Select . The New Folder wizard opens.
-
In the wizard, select the folder or project under which you want to create your folder.
-
Enter a Folder Name and then click Finish.
You can drag and drop folders and resources, or use the Move action in a resource’s contextual menu.
The global project
The global project exists in all workspaces by default. It contains the following shared resources:
-
Configuration definitions.
However, you can place your own resources inside this project.
Sample projects
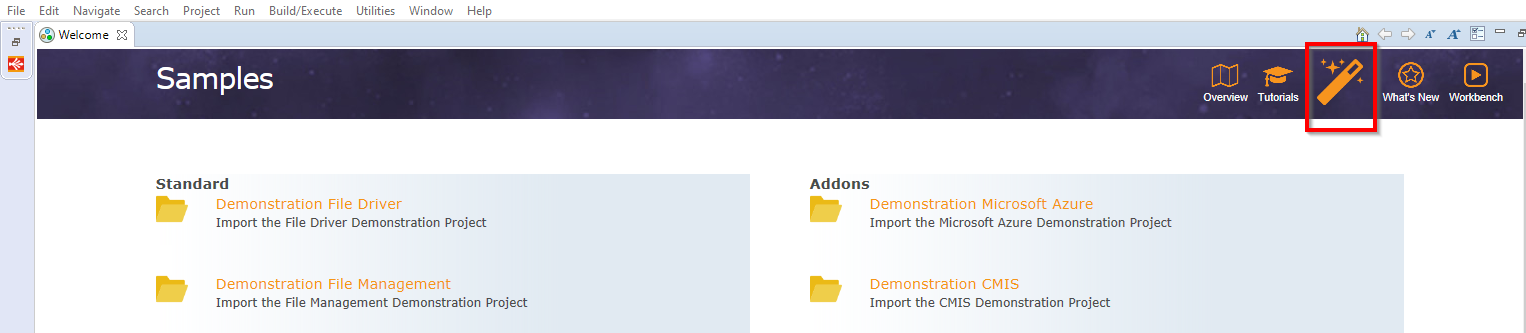
Semarchy xDI Designer comes with sample projects that demonstrate how to interface with certain technologies, and some of their use cases. These projects either come with the default installation, or get added when installing other components.
You can import sample projects from two places:
-
From the Welcome page (Help menu > Welcome).
-
When creating a project: select New in the File menu, then Example.