Set up SAP for Semarchy xDI
To use SAP with Semarchy xDI, you must configure the SAP server to enable connections between the two. The overview of this process is as follows:
-
Import the SAP reference project in Designer, and locate the resources.
-
Install common SAP resources:
-
Follow further guides based on your integration flows:
-
To work with tables and SQL, see the table setup documentation.
-
To query DataSources, see the DataSource setup documentation.
-
To process IDocs, see the IDocs setup documentation.
-
To call a BAPI/RFC, make sure it is remote enabled.
-
When you finish configuring SAP, proceed to creating SAP metadata and reverse-engineering your data.
Download resources
This SAP setup process references additional resource text files. You can find these in a Designer reference project, which you can import directly from within Designer.
-
Right click in the Project Explorer view.
-
Choose Import.
-
From the General folder, select Reference - SAP, and continue.
-
Confirm the name of the reference project, and finish.
When the setup instructions mention text files, consult the files in the reference project at that time.
Create the SAP package
-
In SAP, launch transaction
SE80. -
Choose Package from the list, and enter
ZSTB_PACKAGEin the nearby field.
-
Press Enter.
-
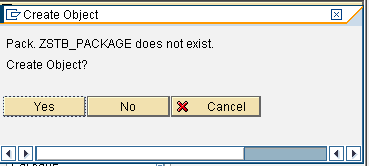
In the Create Object dialog box, click on Yes.
-
In the Software Component field, enter
HOMEand press Enter. The Transport Layer field can have a value or be empty.
-
In the request dialog box, leave the Request field unchanged. Press Enter to finish.

Create the function group
-
In SAP, launch transaction
SE80. -
Choose Function group from the list, and enter
ZSTB_FUNCTION_GROUPin the adjacent field.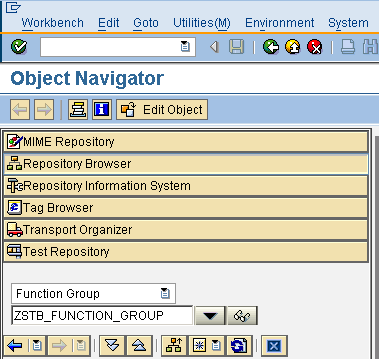
-
Press Enter.
-
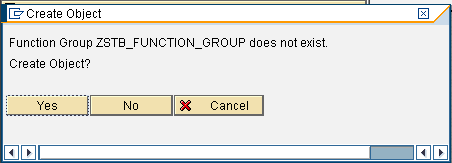
In the Create Object dialog box, click on Yes.
-
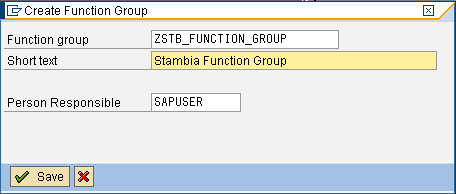
In the Create Function Group dialog box, enter a description in the Short text field.
-
Click on Save.
-
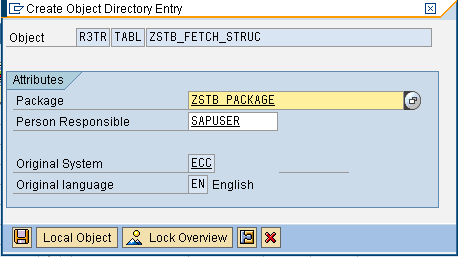
In the Create Object Directory Entry dialog box, enter the package name
ZSTB_PACKAGE.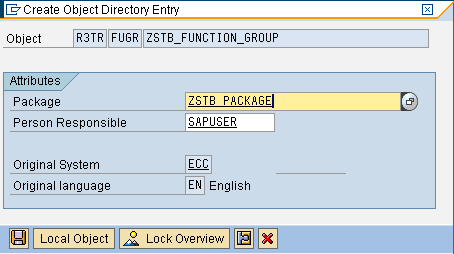
-
Click on Save.
-
In the request dialog box, leave the Request field unchanged. Press Enter.

Create domains
-
Open the file
ZSTB_SOURCES/ZSTB_domains.txtfrom the provided resource ZIP file. -
Add all the domains from the DEFINITION table in the text file:
-
In SAP, launch transaction
SE11. -
In the Domain field, enter the domain name, such as
ZSTB_SESSION_ID_DOMAIN.
-
Click on Create.
-
Go to the Definition tab.
-
Enter the Data Type and the number of characters from the text file, such as
CHARand32.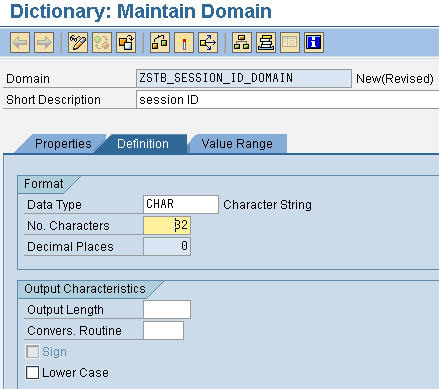
-
Fill out the element’s Short Description from the text file.
-
If the domain is also listed in the VALUE RANGE table in the text file, follow these steps:
-
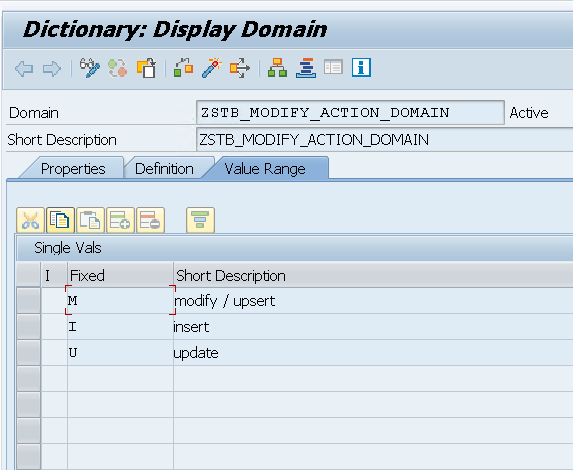
Go to the Value Range tab.
-
Add an entry for each corresponding line in the text file VALUE RANGE table. Enter the single character value in the SAP Fixed column.
-
Add entry descriptions.
-
-
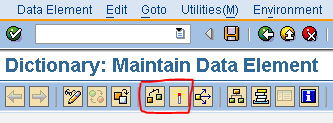
Click on Save, validate the next prompt, and activate the data element.


-
Repeat these steps for any other DEFINITION entries in the
ZSTB_domains.txtfile.
-
Create types
-
Open the file
ZSTB_SOURCES/ZSTB_types.txtfrom the provided resource ZIP file. -
Add all the domains from the table in the text file:
-
In SAP, launch transaction
SE11. -
In the Data type field, enter the type name, such as
ZSTB_SESSION_ID_TYPE.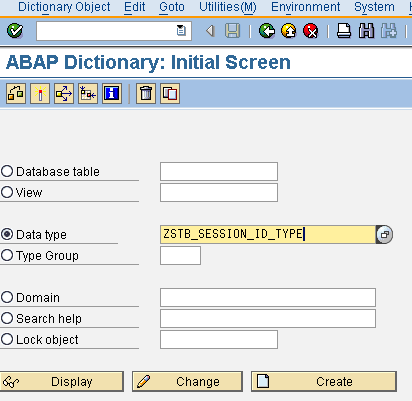
-
Click on Create.
-
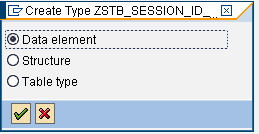
In the Create Type dialog box, select the Data element radio button. Click the check mark to validate.
-
In the Data Type tab, enter the corresponding domain in the Domain field, such as
ZSTB_SESSION_ID_DOMAIN.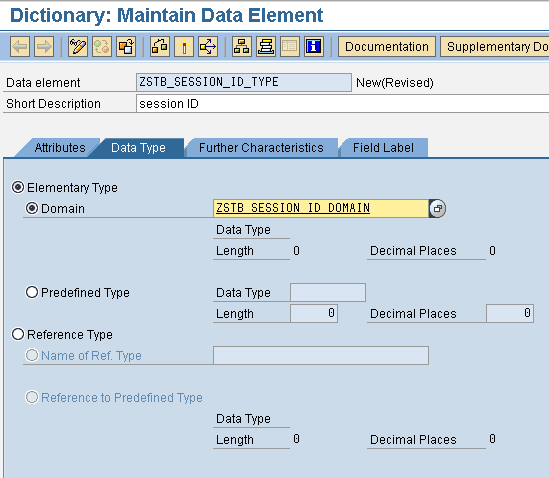
-
Fill out the element’s Short Description from the text file.
-
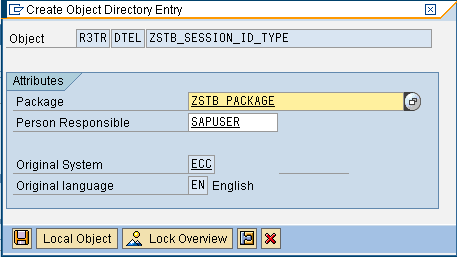
Click on Save, validate the next prompt, and activate the data element. Do not fill out any field labels in the Field Label tab.


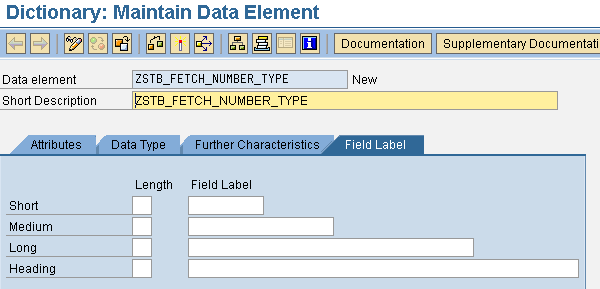
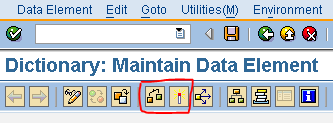
-
Repeat these steps for any other entries in the
ZSTB_types.txtfile.
-
Create structures
-
Open the file
ZSTB_SOURCES/ZSTB_structures.txtfrom the provided resource ZIP file. -
Add all the structures from the table in the text file:
-
In SAP, launch transaction
SE11. -
In the Data type field, enter the structure name, such as
ZSTB_TRANSFERT_STRUC.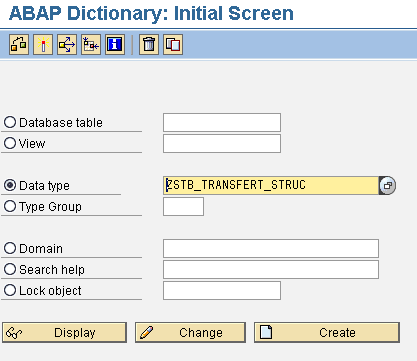
-
Click on Create.
-
In the Create Type dialog box, select the Structure radio button. Click the check mark to validate.
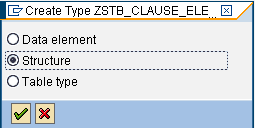
-
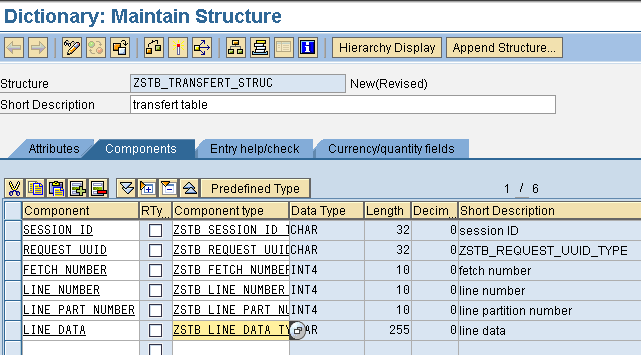
In the Components tab, enter the corresponding component names, component types, and descriptions.
-
Fill out the element’s Short Description from the text file.
-
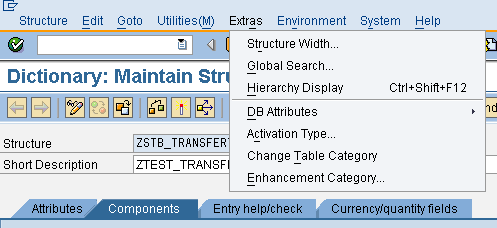
Open the Extra menu, and select Enhancement Category.
-
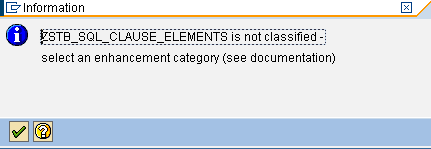
Validate the Information dialog box if it appears.
-
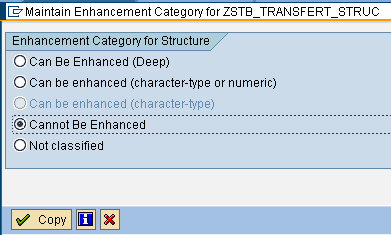
In the enhancement selection dialog box, select the Cannot Be Enhanced radio button.
-
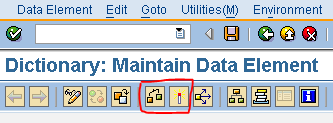
Click on Save, validate the next prompt, and activate the data element.

-
Repeat these steps for any other entries in the
ZSTB_structures.txtfile.
-
Create tables
-
Open the file
ZSTB_SOURCES/ZSTB_tables.txtfrom the provided resource ZIP file. -
Add the structures from the table in the text file:
-
In SAP, launch transaction
SE11. -
In the Database table field, enter the table name, such as
ZSTB_TRANSF_TBL.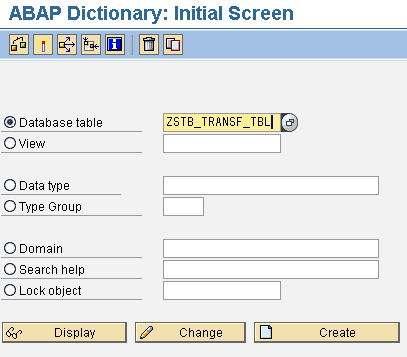
-
Click on Create.
-
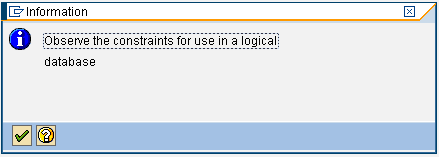
Validate the Information dialog box if it appears.
-
In the Delivery and Maintenance tab, set the Delivery Class to
L(temporary data).
-
Click on Technical Settings on the top bar.
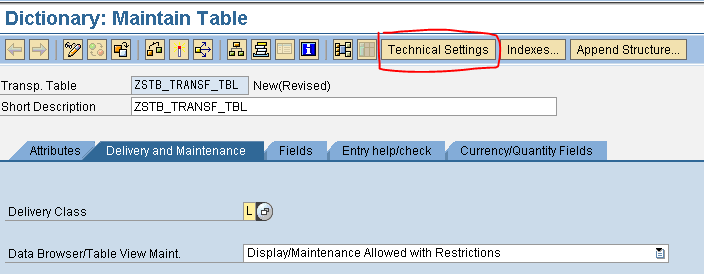
-
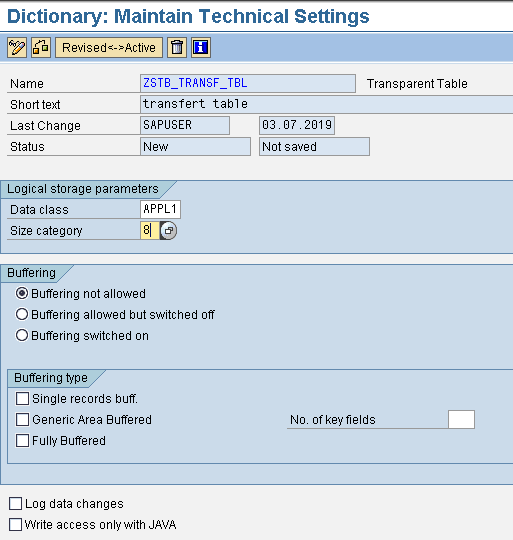
Click on Save and validate the next prompts to get to the Maintain Technical Settings screen.


-
Set the Data class to
APPL1(transaction data). -
Set the Category size to
8.
-
Click on Save and validate the next prompts to return to the previous screen.

-
In the Components tab, enter the corresponding component names, component types, and descriptions.
-
Activate the key and initial value on dedicated values.

-
Fill out the element’s Short Description from the text file.
-
Open the Extra menu, and select Enhancement Category.

-
Validate the Information dialog box if it appears.
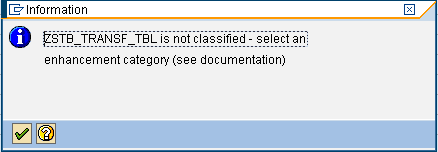
-
In the enhancement selection dialog box, select the Cannot Be Enhanced radio button.
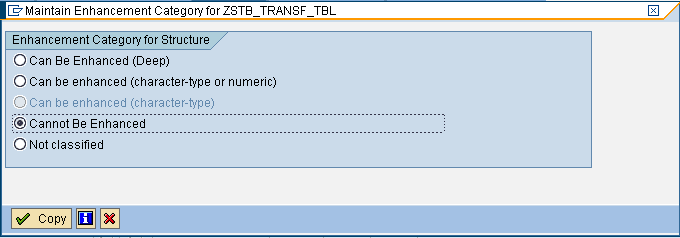
-
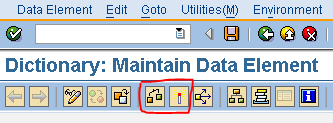
Click on Save, validate the next prompt, and activate the data element.
-
Repeat these steps for any other entries in the
ZSTB_tables.txtfile.
-
Create common function modules
Open these text files from the provided resource ZIP file:
-
ZSTB_SOURCES/ZSTB_INSERT_TRANSF_TBL.txt -
ZSTB_SOURCES/ZSTB_RFC_SQL_DELETE.txt -
ZSTB_SOURCES/ZSTB_RFC_SQL_FETCH.txt
Open the article about adding function modules. Follow those instructions, once per text file, to create three corresponding modules.
Configure SAP for different elements
See the following pages according to your data integration needs:
-
To work with SAP tables, see the table setup documentation.
-
To query DataSources, see the DataSource setup documentation.
-
To process IDocs, see the IDocs setup documentation.
-
To call a BAPI/RFC, make sure it is remote enabled.
Next steps
When you finish the SAP setup process, continue to xDI Designer and connect to your data.